

This week were going to stick one up Primus, MSR and Colemans and talk Backcountry Survival stoves. Always a big question when running extended courses in the mountains or when away on expedition is which stove and fuel should I use? There’s a stove for every situation…..for a faff free burn in a temperate environment you can’t go far wrong with a butane powered whisperlite or similar. For a cold prolonged excursion a petrol stove is a must. and betwixt the two sits the trangia.
Experience has taught me that when far away from “civilization” where resupply from shops is a no go, then a petrol stove is easier to find fuel for, finding butane canisters in the far flung regions are as common as hens teeth. Butane also has a freezing level of -30, Propane -40 (although there are tricks around this) and petrol not being a single molecule compound begins to freeze at -60, but not completely.
Usually (but not always) butane stoves are a closed system, meaning you cant get into it to bodge it back together when it starts to go wrong, the petrol priming stoves are fully modular making life easy to get in amongst and clean/replace/bend parts to get it functioning again. Having said this Priming a petrol stove is an art that can only be mastered with hours of playing around with to avoid flare ups – OK if your outside, but in a hostile environment where you need to cook in a tent you can easily lose your protection (first hand experience of seeing this from 2 royal signals officers in Siberia, whilst priming their stove they burnt their tent down).
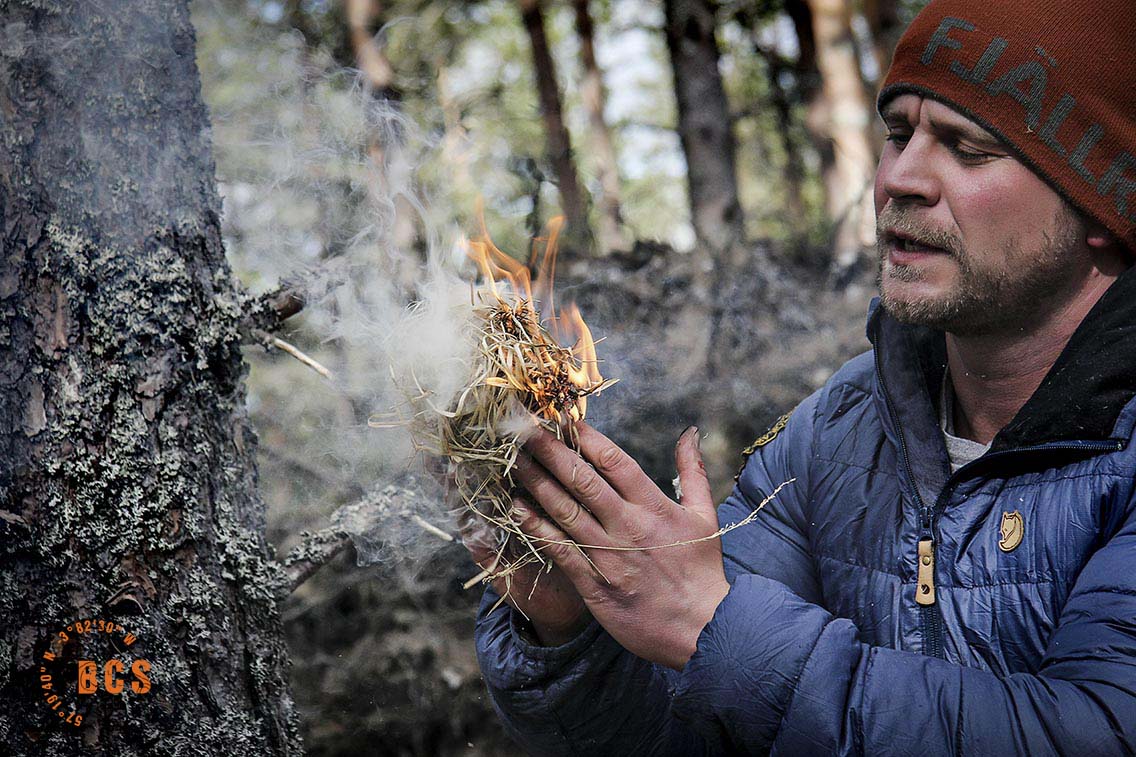
Having said all of this, what if you had no stove? There was not enough fire wood to cook or steralise your water supply, or lighting a fire for whatever reason was not an option?
…………….Or perhaps you don’t have the cash to stump up for a new stove?
Step 1.Take two drinks cans and cut the bottoms off and keep, these are the basis of the stove, making sure you retain 4 inches or above in height. For the best result the drinks cans should be the same diameter as each other.
Step 2.Take one of the can ends and perforate with a nail/drill or other sharp object. These will become your flame holes so bear the Fire triangle in mind when your doing this, remember you need Oxygen, Fuel and Heat for a burn, so too few holes will not allow the flames to breath, too many and you’ll have a fire ball on your hands! If you cant get the stove to start put more holes in.
Step 3.Take the non perforated end of the second can and fill to the top with cotton wool (in a survival situation this can be substituted by old rags/clothing/jacket liner). Next pour fuel into the can and allow the cotton to absorb, do not overfill the can. The Hobo stove will burn any liquid that will light with a naked flame, although white gas will burn cleaner than petrol.
Step 4. Push the two cans together one inside the other and make sure the cotton wool is touching the holes. Now “Prime” the stove with a small amount of fuel and light. The holes should start to allow oxygen into the stove and fuel vapours out, if this does not happen see step 2.
Step 5. Note – Picture 1 is priming and Picture two on a full burn. With a full charge of fuel as described above you should have 30 – 40 mins burn time, enough for a few brews.
Step 6. The problem of cooking can be overcome with a bean can as shown, this allows your billy can to sit over the flame whilst the air slots cut in the side feed the stove with oxygen.
Disclaimer! – Always run your stove in a well ventilated area, Carbon Monoxide kills. Keep your stove away from flammable fuel canisters, especially on initial start up. We take no responsibility for you burning down your/your mums house!
Keep up to date with our blog for more offers on our Bushcraft and Survival Courses in Scotland and North East England – We feature discounts and competitions regularly.