It’s all in the head, someone once said. In our two part look into the workings of psychology, Bradley Lotts talks about the effects of a traumatic experience on a Survivors mind.
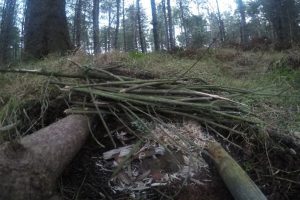
In a real-life emergency, the skills and knowledge of building shelters, making fires, getting food and such like will only get you so far. It takes a lot more than these skills to survive. You could have all the survival training in the world however to use such training you need your mind; yet your mind is immediately impaired in a survival situation. To survive you will need to overcome strong emotions and thoughts that are associated with the stress of a survival environment and not let it destroy your will to live. John Leach, a leading survival psychologist, has described in an article ‘the won’t to live’ and how we should be paying attention to people who die unnecessarily in a survival situation as oppose to those who survive. Survival Psychologists are keen to study the impact of disasters on human behaviour as systematically and scientifically as possible, therefore several models have been devised to classify all disasters in a generic way so as to study the pattern of behaviour and transfer it across all events (Powell & Rayner 1951; Glass 1952; Tyhurst 1951). For the purpose of his book, Leach has combined three dynamic models into a five-dimensional model which allows survival behaviour to be studied in a clear and robust way.
Pre- Impact phase
Threat stage and warning stage
Impact phase
Recoil Phase
Rescue phase
Post- Trauma stage
The first period of a disaster is known as the Pre-Impact phase and this is subdivided into the threat and warning stage. So, what exactly is defined as a threat?
The term threat has several meanings. It can be defined as a communication of intention to cause harm. In the Oxford Dictionary a threat is defined simply as, “A person or thing likely to cause damage or danger.” In a psychological manner, however Leach defines a threat as the perceived probability of a disaster occurring. Even when there is a high probability of a threat, people’s behaviour tends to be inactive during this stage as they remain in denial that anything bad will ever happen to them. In general terms, most people feel invulnerable and they don’t believe that they themselves could be directly or indirectly affected by a disaster. As an example of this I am sure many people have seen the film 127 hours, when Aron Ralston, a canyoner, became trapped by a chalk stone that came loose as he was descending into a Canyon. Aron Ralston didn’t leave anything to let people know where he was going – an action that is vital when venturing anywhere that poses a threat – and this could have been due to him being in denial that anything bad could happen. The consequence of this led to Ralston being trapped for days and eventually having to make the decision to cut his own arm off to free himself and survive. Had he left a note to say where he was going Ralston could have been found sooner. An example of denial and inactivity that is written in Leach’s book is the Ash Wednesday 1983 bush fires where 72 people died and 2000 homes were destroyed. 2 years prior it was revealed that out of a list of 10 precautions laid down by the local fire authority, most people only carried out one. Furthermore only 16% knew the number for the fire brigade. Why do people not prepare? Leach has outlined three basic reasons to explain this; planning and preparation is inconvenient in day to day life as it requires physical and mental effort; preparation can often come with a financial cost and thirdly, there is a common superstition that to prepare for a disaster will only encourage one to happen. People tend to dislike even thinking about a disaster affecting them as it provokes negative feeling and emotion therefore there is an ignorance to the potential of disaster which will indefinitely cause a lack of enthusiasm to prepare for anything.
Following the threat stage is the warning stage and this stages can cause a completely different reaction in people as the threat is made physically real. Disaster is now impending. Contrasting the threat stage, this stage characterised by over activity. This behaviour is just as ineffective as inactivity as people have a frantic urge to do something even if it is inappropriate and irrational. Surprisingly, it is common for people to still be in denial even though a warning has been given that a disaster is going to happen. An example of such denial was given by Pauls (1974) who found that during a fire drill in a high-rise office building only 17% out of 176 occupants interpreted the situation as a genuine fire alarm. This was in fact a practice drill however 90% of the people were not aware of this. It has been noted that people can completely ignore a warning till right up to the last minute before the incident occurs. Why do people ignore warnings? It could be said that in some instances people do not believe the warnings and they remain invulnerable until they see the actual disaster occurring with their own eyes by which point it can often be too late. Consider the following example; 1987 in Hungerford, Michael Ryan goes berserk in the afternoon with an automatic weapon leaving 16 dead. Several people died because they ignored warnings and walked straight into Ryan’s gunfire. Sounds completely surreal that people would do that and you yourself may think you would never do such a thing however this type of inappropriate behaviour during a disaster is common.
Next up is the Impact period. This stage can sometimes occur without a pre-impact stage as some potential incidents can happen very suddenly, such as a car crash or an explosion. The impact period is said to be extremely overwhelming as sensory information rapidly floods the brain all at once making this stage the hardest to prepare for. Even people that are constantly trained to deal with these kinds of situations are not protected from the sudden psychological effects that the impact stage brings. Behaviour during a disaster varies from individual to individual, however from independent studies of disasters over the years it has been noted that there is a similar pattern of responses. People affected by a disaster tend to fall into 3 groups; 10% to 20% of people will remain calm thereby having the ability to think rationally and act effectively, approx. 75% of the population will be stunned and bewildered causing their thinking to be significantly impaired and between 10% and 15% will show a high degree of inappropriate behaviour that is ineffective and could potentially be a danger to themselves and others. Putting this into a real-life example; An armed robber once reported that as he walked into a bank he would always look for two people when he ordered everyone to put their hands up. He would look for the first person to raise their hands because he knew that the person can think quickly in a stressful situation and therefore could be a potential problem for him. He also looked for the last person to raise their hands as they were not fully aware of the situation and could also be a threat.
Recoil period is when the initial danger has been removed and the victims begin to take in what has happened. This can bring a whole array of emotions usually starting with confusion as there is a lack of awareness for what has happened. Once awareness has returned emotions turn into fear, resentment, anxiety and anger. Family ties are very strong and usually override everything else. People will show high levels of hyperactivity until they are reunited with family members. Survivors will get an almost childlike dependency to be with other people to comfort themselves, it is important that the groups formed are of a strong nature and do not allow peoples psychological state to further drop. The victims cannot sort this grouping system out themselves and will need to be almost mothered by rescue services etc. to form theses important groups. Yet again the victims can be in a state of denial during this phase telling themselves that this cannot be happening to them. There is also a strong need for victims to talk about what happened to them. Friedman and Linn (1957) reported that survivors of the Andrea Doria sinking had a compulsive need to tell the story again and again, with identical detail and emphasis.
The final part is the post- trauma period, this is the part where the victim will attempt to rebuild his or her life. It is also the stage where psychological reactions become symptoms recognisable by medical diagnostic criteria, such as recurrent dreaming, anxiety, depression and psychosomatic disorders. The event can increase fear and apprehension in a person, suggesting that the experience of a disaster may not necessarily help you to cope better in another life-threatening situation. Manolias and Hyatt-Williams (1986) study of post shooting experiences in firearms officers re calls on incident where a police officer was involved in his second shooting incident and he believed that the first incident he was involved in would help him to better cope with the situation. However, when he heard gun shots a strong feeling of fear returned and he thought to himself ‘not again’ and just wanted to find cover.
The model just discussed describes a collective response to a disaster, we will now talk about common individual reactions to potentially life threatening situations.
The first reaction we will cover is Panic. Panic is not a common reaction in a disaster; panic tends to set in when people are in enclosed areas and their potential exits are slowly closing. A good example of panic would be in the film titanic where the life boats are leaving the ship and fewer and fewer people have any hope of getting off the ship thus closing their exits, therefore they are trapped on a sinking ship with nowhere to go. Panic makes people lose their judgement and discretion and once it sets in it is very contagious. It is rare to see people panic when they are caught in a disaster, say, outside where they are not enclosed and they have unlimited exit points, having said this it may be more prevalent in an outdoor scenario where an individual is lost.
Paralyzing Anxiety is next, Anxiety in life threating situation can cause certain individuals to freeze on the spot. There have been two types of freezing identified and they are deadlock and live lock. Deadlock victim’s muscles show intense rigour and the person becomes hard to move even with physical violence. The second one is live lock which produces muscular tension which is within normal range.
Perceptual Distortion or tunnel vision, which I’m sure people have heard of before, is the next part we will talk about. Perceptual Distortion gives a high level of concentration on a task that has been selected during a stressful situation. The selection of this task is not always the right one in the highly stressful situation. Perceptual narrowing has been induced chemically by certain drugs such as adrenaline, methamphetamine and amyl-nitrite (Callaway and Dembo 1958). The agents mentioned above are related to the activation of the sympathetic nervous system, which is known as the fight or flight response.
Denial is the most common reaction before, during and immediately after an incident occurs. It can take different forms like straight forward rejection to an incident happening. It can also comprise a state of psychological disassociation which has been described by survivors as a sense of dream like reality. Denial can also be reinforced by past experiences like getting away with something once will make you think it will be fine to do it again. Also, people react to other people’s actions – remember we talked about how panic is very contagious, well so is denial. If everyone else is relaxed about a situation and is in denial that anything bad will happen it tends to be the attitude of the whole party involved.
Depressed reaction and apathy can occur if an individual does not overcome the feeling of denial. Depressed reaction should not be confused with depression which is psychiatric or a medical condition rather than a psychological dysfunction and it may be best to view this reaction as hypoactivity. People that show symptoms of depressed reaction look numb and they sit amongst the chaos and debris and almost have which some call a thousand-yard stare. The problem with depressed reaction is it can leave the victim open to other life threatening situations such as the onset of hypothermia.
Hyperactivity is the next thing to talk about and is the complete opposite to Hypoactivity. The victims show a maladaptive response to their situation when they become hyperactive. It has been more frequently noticed in the victims that are just coming through a state of depressed reaction. Hyperactivity gives the victim confidence in their own abilities which is both unreal and unwarranted. Their actions can be inefficient and inappropriate and worst of all, dangerous.
Next up is Stereotypical behaviour. When people are faced with a life-threatening problem they have been known to fall back on well learned behaviours. An example of this is given by Holden (1986) when a bank clerk in Norway was confronted by an armed bank robber who demanded money. The woman was momentarily so surprised that she could only respond the way she always had: she pointed to her left and said cash? Next desk’.
Irrational Behaviour is when people carry out inappropriate activities during stressful times. An example of this came from Lord (1955). During the sinking of the titanic a passenger called Mrs. Dickson- Bishop left behind £7000 worth of jewellery but she sent her husband back to their cabin to fetch her muff.
Anger, aggression and hostility amongst victims is universal. Janis (1951) highlighted that during the blitz in World War 2, air raid victims blamed Churchill, Hitler, the Royal Air Force, the Luftwaffe and even the local air raid warden for causing the destruction which had recently laid waste to their environment.
Guilt is a common feeling for survivors. They sometimes feel guilty about surviving instead of the others that didn’t make it. They can also start to blame themselves for what happened and allow themselves to think that they could have helped more than they possibly did.
The last part in different individual reactions is Psychological Breakdown. This is the ultimate psychological problem people can face in an extreme situation. This stage should not be confused with a mental breakdown. Once this stage is reached death is often close to follow. The initial symptoms include development of irritability, disturbance of sleep and mild startle reaction followed by social withdrawal, loss of interest, apprehension and confusion.


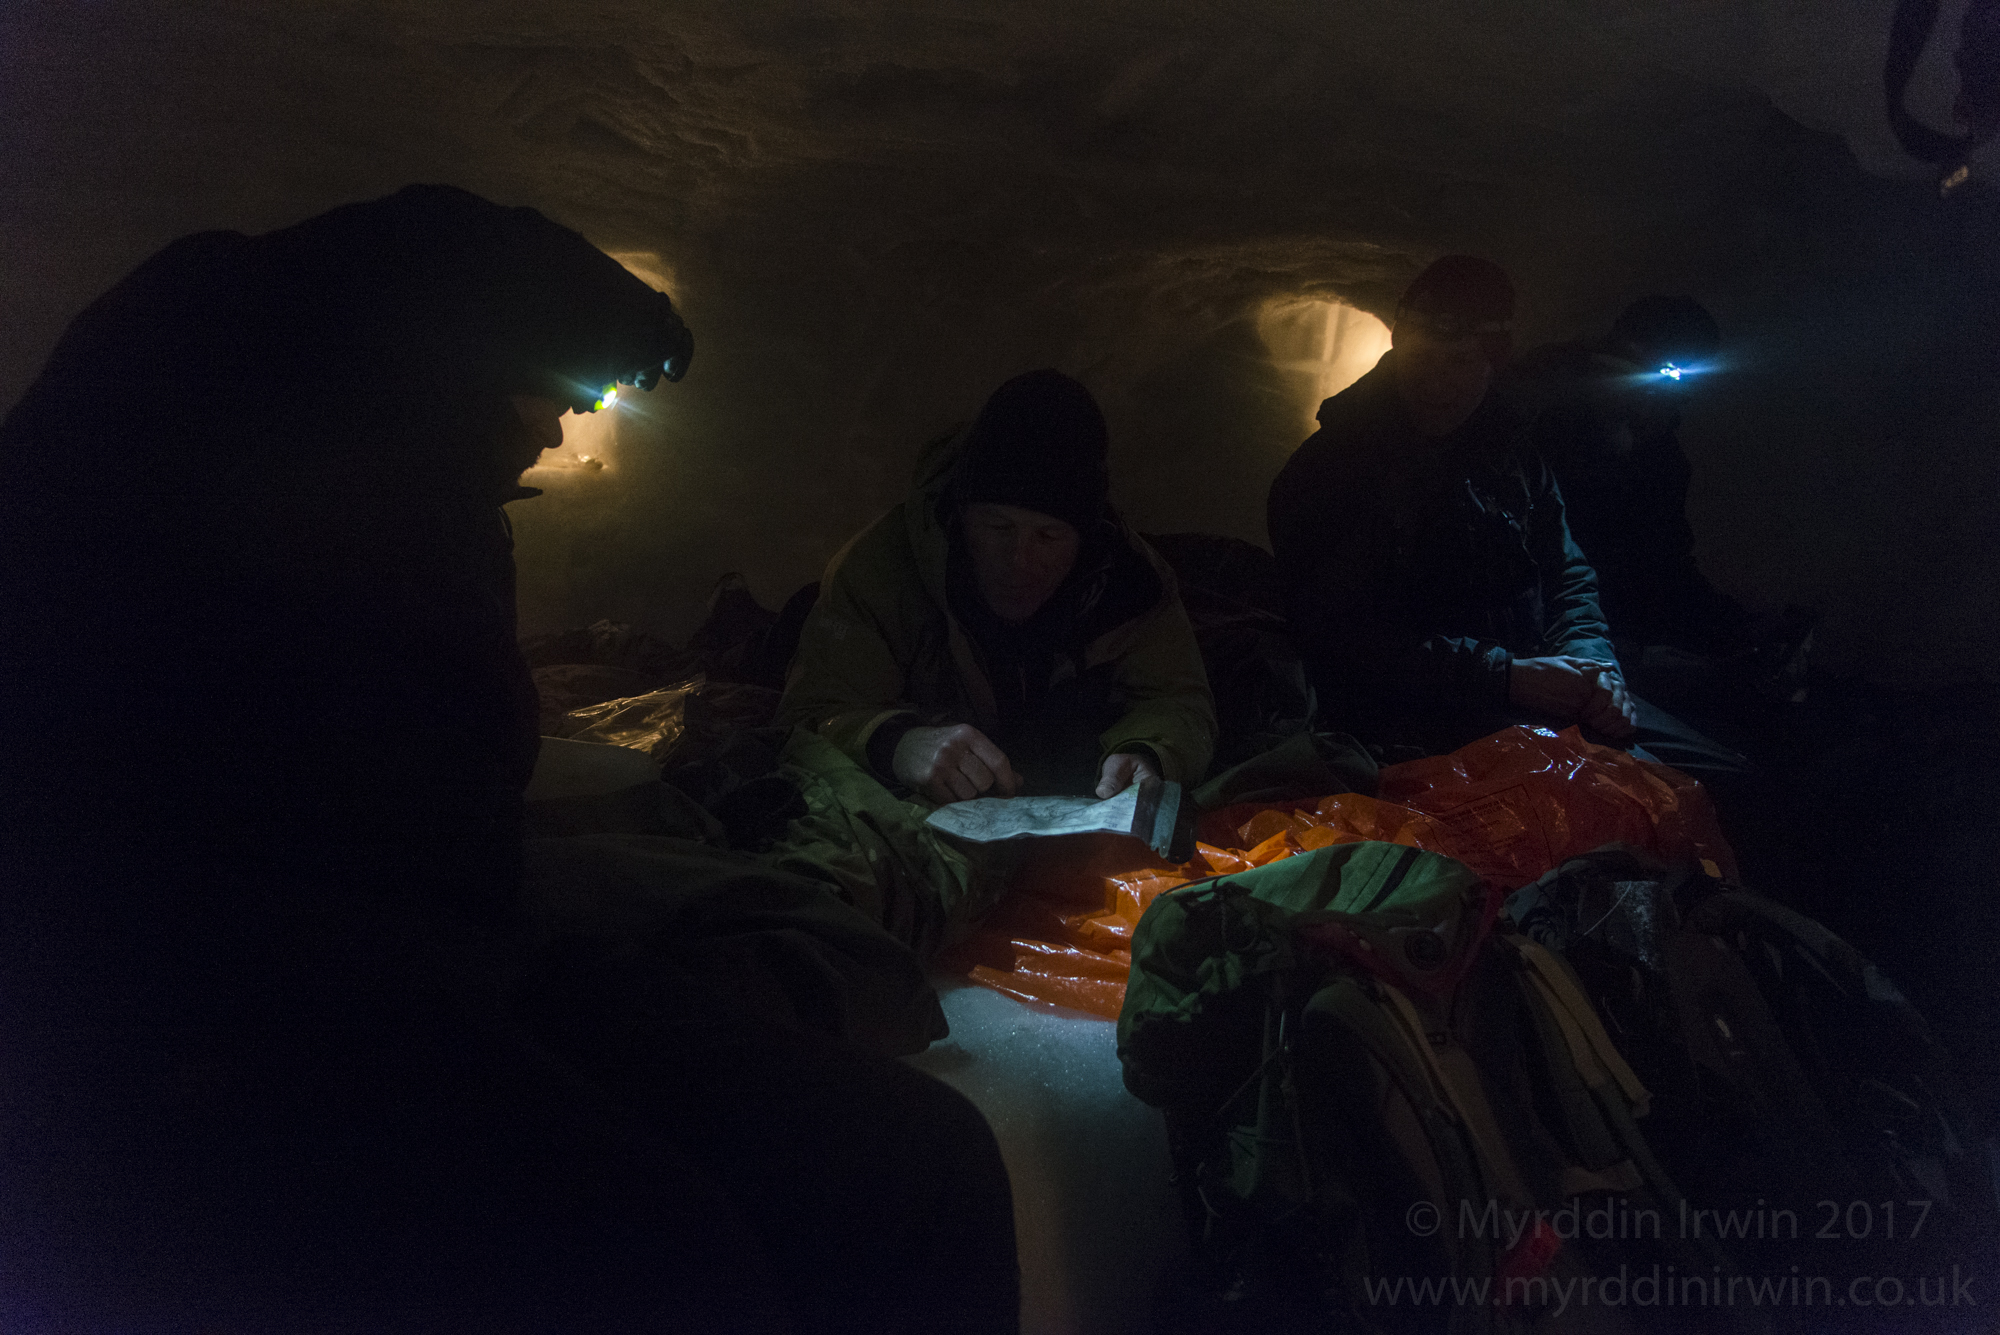
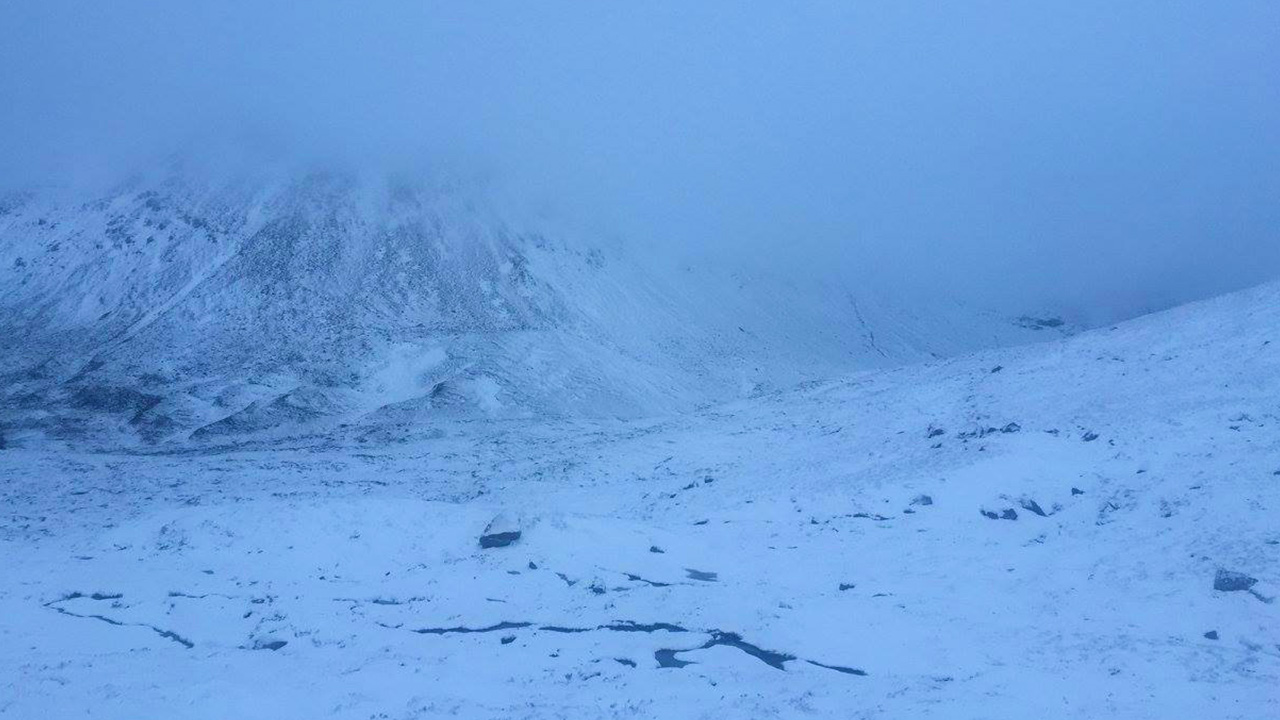
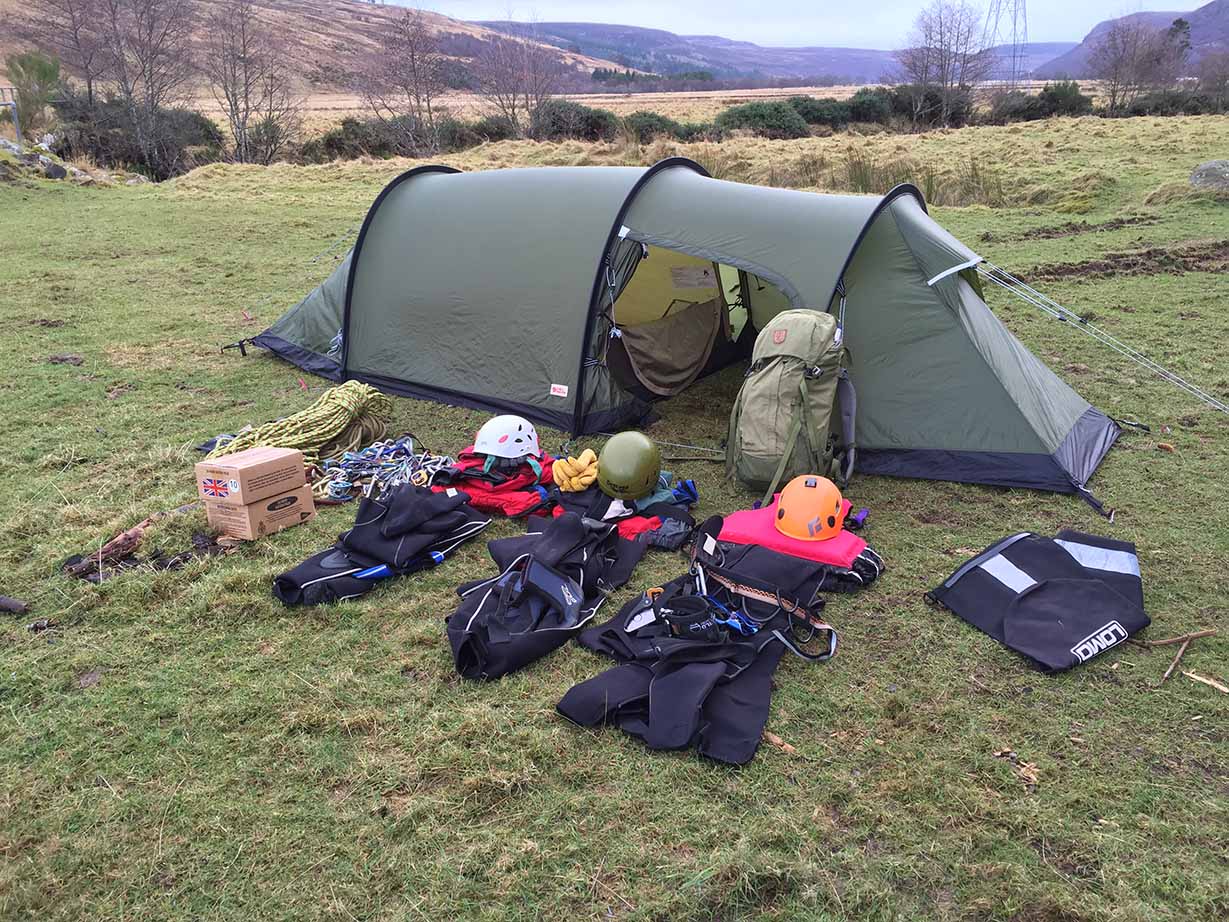
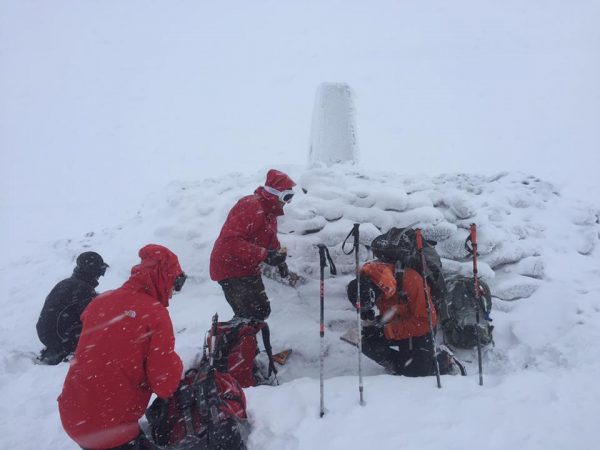
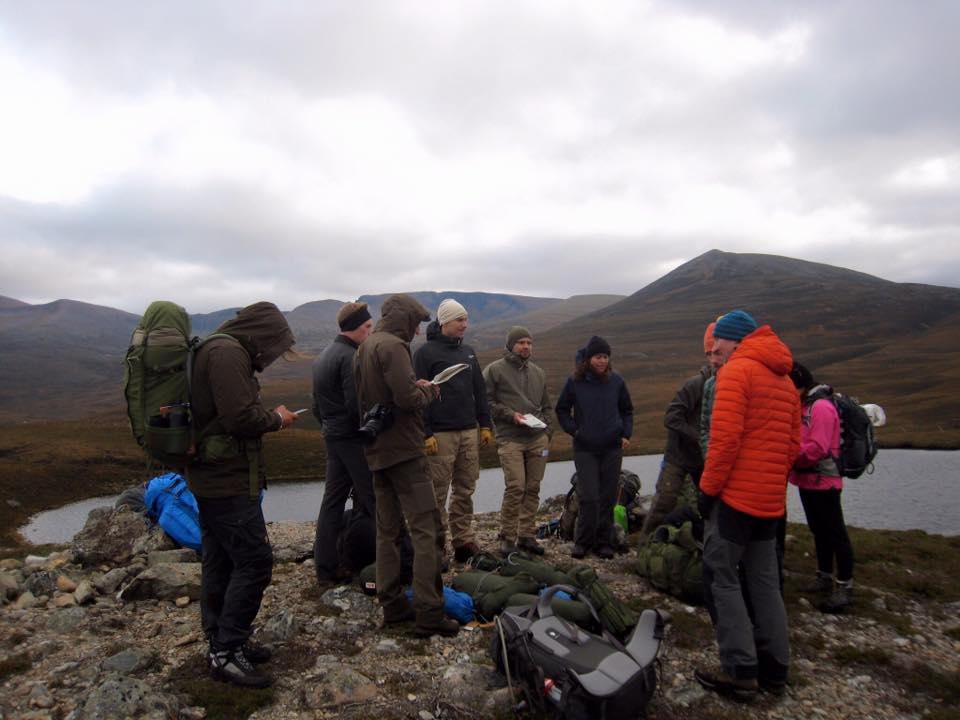
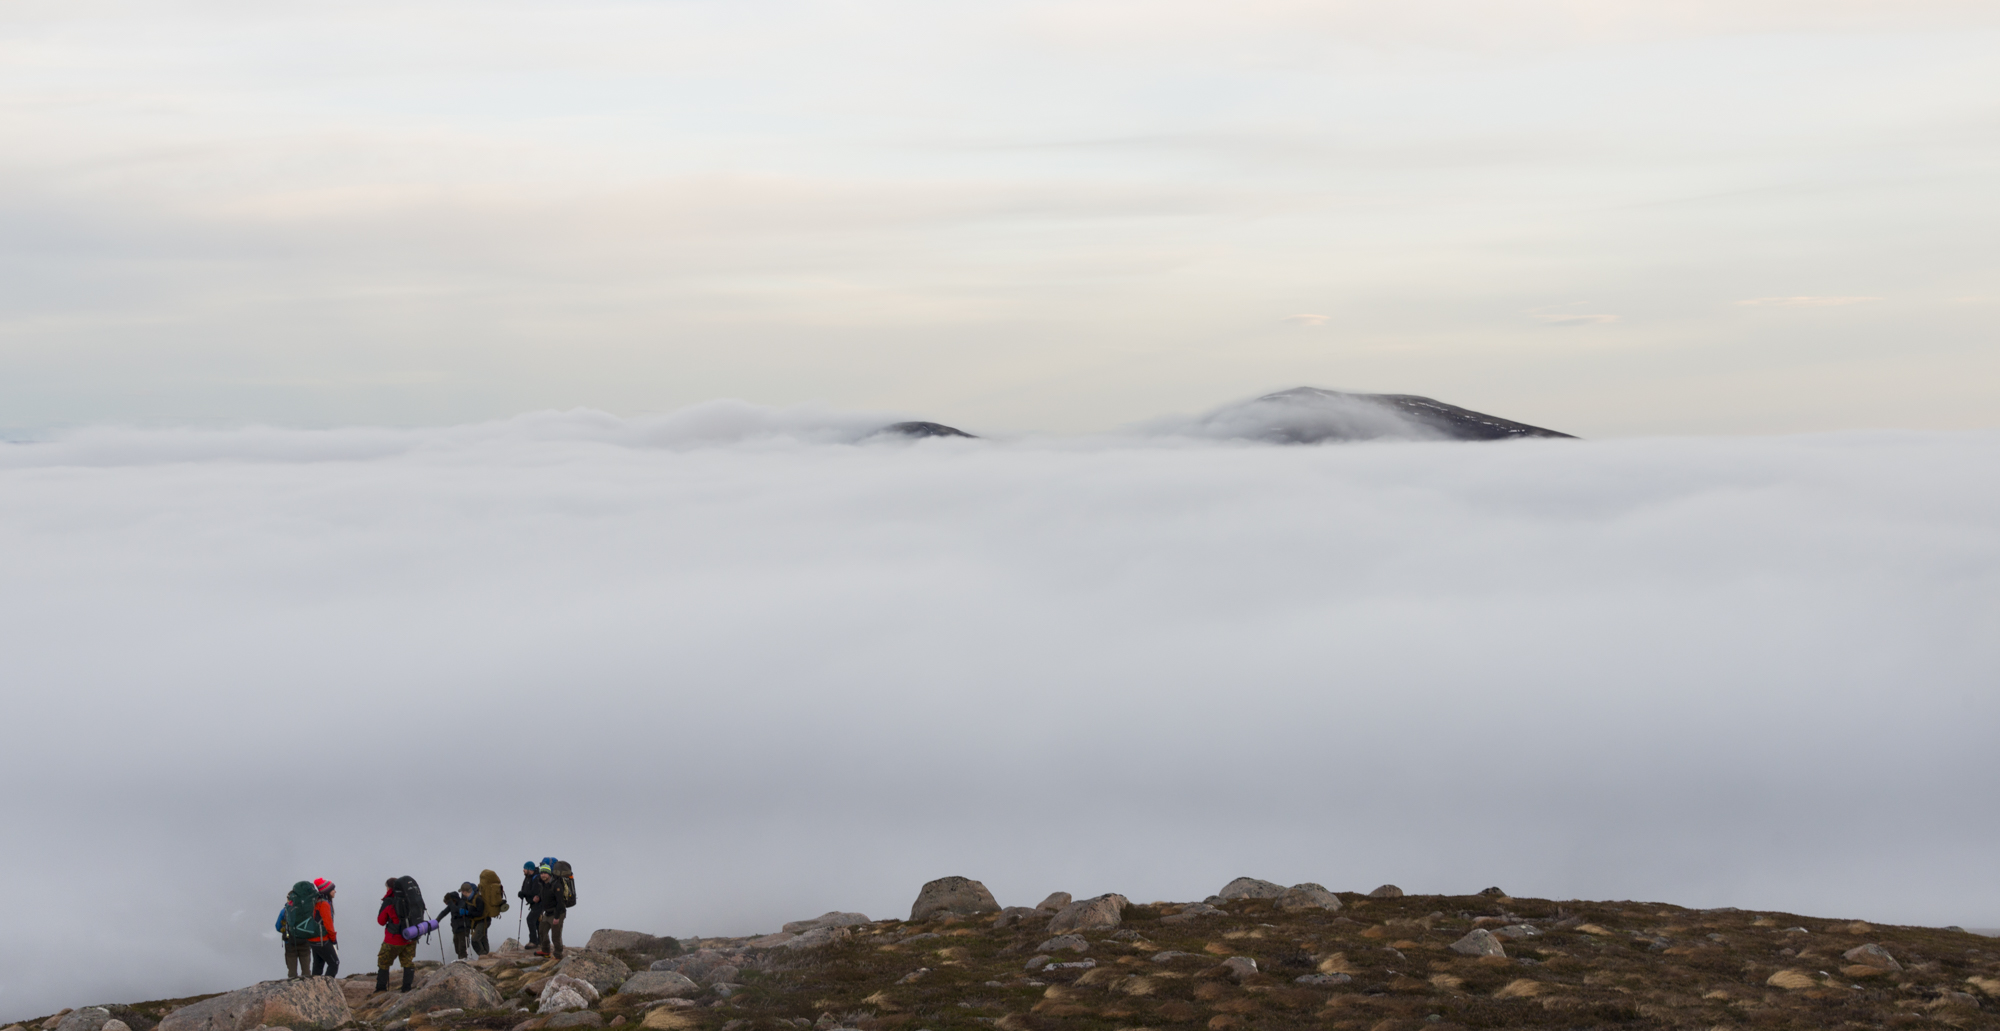
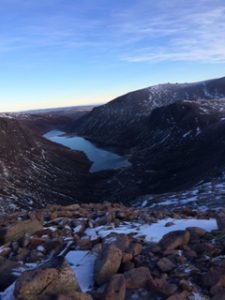
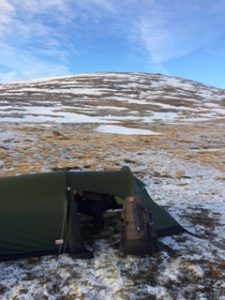
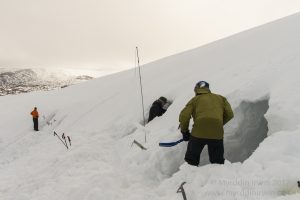 Here at BCS we are serious about our Survival courses. As the only Survival company in the UK experienced and qualified to take our clients into the most remote regions in the British isles, you can be sure to learn a whole load whilst having a first rate experience. The Cairngorms is probably the only region in Britain where you are almost always assured snow, and we know where to find it!
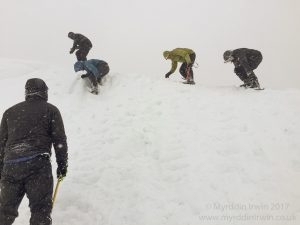 The final 3 day course this year will be running on the 10th – 12th of March and we have two places left to fill, which are going for £180 per head rather than the usual £310. If you are interested please send us an email or give us a call.


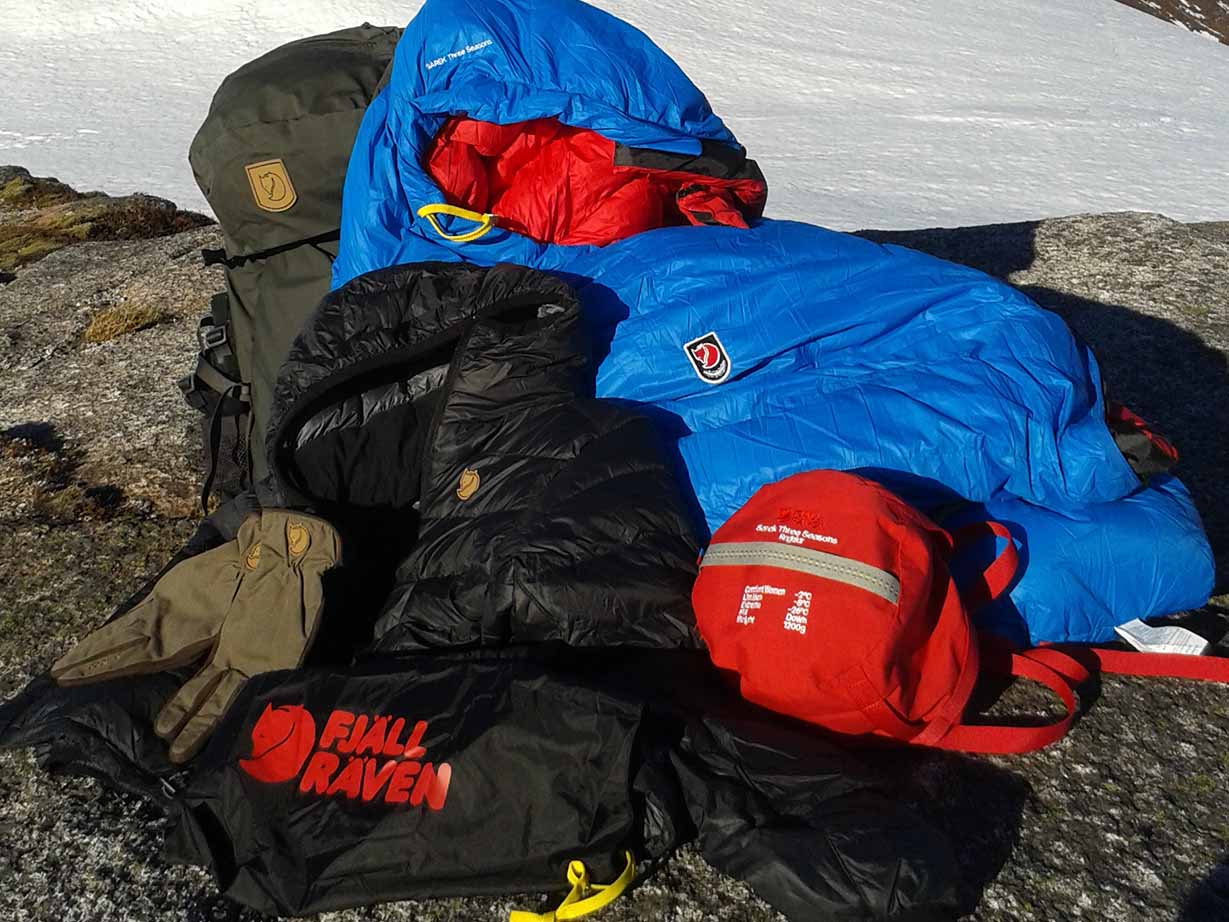
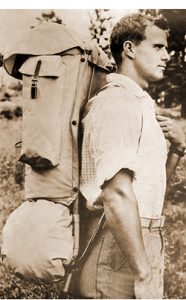 Ever heard of Ake Nordin? You’d be forgiven if you haven’t. Ake lived in a town called Örnsköldsvik in East Sweden, a keen scout and outdoors man that was not entirely happy with the rucksacks and outdoor equipment of the day. At the age of 14 and prior to a trip to the Västerbotten mountain range Ake borrowed his mothers sewing machine, and after knocking up a satchel made of strong cotton, attaching it to a wooden frame (he knew that carrying equipment on his back required it to be close to his back with a high centre of gravity) he had produced one of the first multi-day hiking rucksacks.